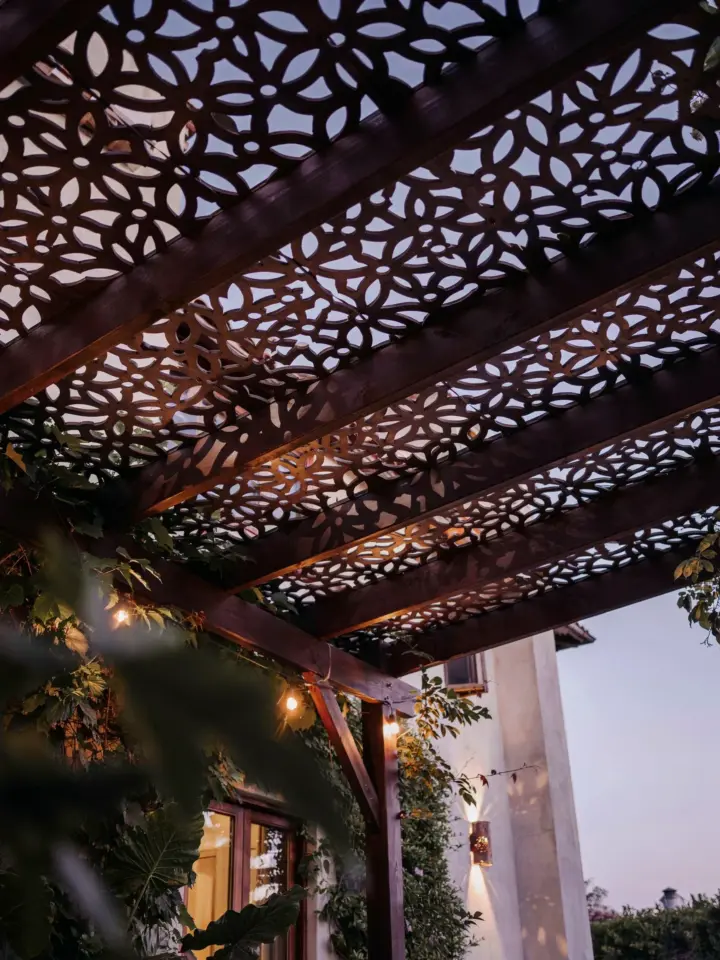
When we bought our house, the backyard had a large concrete slab that just sat there, bare and baking in the summer sun. No shade, no cover, no place to sit without being roasted. We knew we needed something, but a contractor quote for a solid patio roof came back at over $3,000. That was not happening. So we started searching for budget patio cover ideas that would actually work without breaking the bank. What we found was a simple wood pergola plan, combined with climbing vines, that turned that empty slab into our favorite outdoor hangout for under $500 and in one weekend. Here is the full before and after breakdown of how we did it.
Why We Chose a Simple Wood Pergola for Shade
We looked at shade sails, aluminum canopies, and even fabric awnings. Each had its own issues. Shade sails sagged after a season. Aluminum looked too industrial for our garden. Awnings were expensive to install properly. A wood pergola felt right because it gave us structure without a solid roof, letting some light through while still blocking the harshest sun. Building it ourselves kept the cost low, and the open top meant we could add climbing plants later for even more coverage. Honestly, the simplicity of the design is what sold us. Four posts, cross beams, and a few slats. Nothing complicated, and no permit required because it was under 10 feet tall and not attached to the house in our town.
Our Affordable Materials List for Under $500
We kept the lumber list short and shopped at a local big box store during a lumber sale. Pressure treated wood was the obvious choice for durability outdoors. Here is exactly what we bought:
- 4 pressure treated 4×4 posts (8 feet long) for the corners
- 6 pressure treated 2×6 boards (12 feet long) for the main beams
- 8 pressure treated 2×4 boards (8 feet long) for the cross slats
- 2 bags of concrete mix (80 lb each) for setting the posts
- Galvanized screws and brackets (about $20 total)
- Wood stain and sealer (one gallon, semi transparent)
Total came to around $430 including tax. We already had basic tools like a circular saw, drill, level, and post hole digger. If you need to rent those, add maybe $50. Still well under $500.
The Weekend Build: Step by Step
We started on a Saturday morning by marking the post locations. We wanted a 10×10 foot pergola to cover most of the slab. Digging four holes two feet deep took about an hour of hard work. Then we set the 4×4 posts in concrete, checked they were plumb, and let them set for a few hours. In the afternoon we cut the 2×6 beams to span between the posts. Two beams run front to back, and two run side to side. We attached them with galvanized brackets at each post top. That created the main rectangle.
On Sunday morning we laid the cross slats. We spaced them about 12 inches apart so the afternoon sun would create a dappled shadow pattern. Each 2×4 slat got screwed into the top beams. The whole framing took maybe three hours. Then we spent another hour staining all the wood with a brush. The tinted sealer protects the lumber from rain and sun, and it gives it a warmer, finished look compared to raw pressure treated wood. By Sunday evening we had a completed pergola and a feeling of real accomplishment.
Adding Climbing Vines for Natural Shade
The pergola alone gave some shade, but we wanted more coverage without adding a solid roof that would make the space feel closed in. That is where climbing vines came in. We planted two clematis vines (one on each front post) and a jasmine vine on a back post. Clematis grows fast in our zone and blooms purple all summer. Jasmine added fragrance and dense foliage. We also trained a young climbing hydrangea on the remaining post. Within a year the vines had covered about 40 percent of the top. By year two the coverage was almost complete. We used simple garden twine to guide tendrils across the slats. No lattice, no wire mesh, just the vines weaving through the wood naturally.
Before and After Patio Makeover Transformation
The before picture shows a plain gray rectangle of concrete with a cracked broom finish and nothing else. The after photo shows a shaded seating area with two weathered armchairs, a small side table, and planters full of green vines climbing the pergola posts. The difference is night and day. We also added a simple outdoor rug and string lights wrapped around the beams. Total cost for furniture and lights was maybe another $150, but the pergola itself was the anchor. That single change turned an unusable slab into a place where we have breakfast, read books, and host friends on summer evenings. It really shows how powerful these budget patio cover ideas can be when you commit to a simple build.
Tips to Keep Your Own Patio Cover Costs Down
Here are a few things we learned that can help you save even more on your own project:
- Buy lumber during spring sales. We happened to shop right before Memorial Day weekend and got 15 percent off pressure treated wood.
- Use standard dimensions. A 10×10 or 8×8 pergola uses common board lengths that are cheaper and easier to find than custom sizes.
- Skip the fancy brackets. Simpson ties are great but pricey. We used simple galvanized right angle brackets and added a few screws, which worked fine.
- Choose fast growing vines. Annual vines like morning glory or hyacinth bean work instantly, but perennials like clematis or wisteria give longer term results for the same effort.
- Do not over complicate the design. A basic open top with slats looks clean and lets you adjust shade by adding a shade cloth on top if needed later.
These strategies kept our total under $500, but even if you spend a little more on higher grade wood or a more elaborate layout, the core concept of building a simple wood frame and letting plants do the rest is a proven way to get a beautiful patio cover without hiring contractors.
Final Thoughts: Your Turn to Try a Pergola Makeover
That bare slab in our backyard is now our favorite spot. The pergola cost us a little over a day of work and a few hundred dollars, and it has paid for itself many times over in use and enjoyment. If you have a patio that feels empty or too sunny for comfort, I recommend looking at these budget patio cover ideas with fresh eyes. A simple wood pergola with climbing vines is doable for most people with basic tool skills. You do not need to be a professional carpenter. You just need a plan, some lumber, and a weekend. If you decide to build one, I would love to hear about your before and after story. Drop a comment or share your own photos on social media with the hashtag #pergolamakeover so we can all get inspired.
#patiocoverideas #budgetpatiocover #beforeafter #pergolamakeover #outdoorpatioideas
Leave a Comment